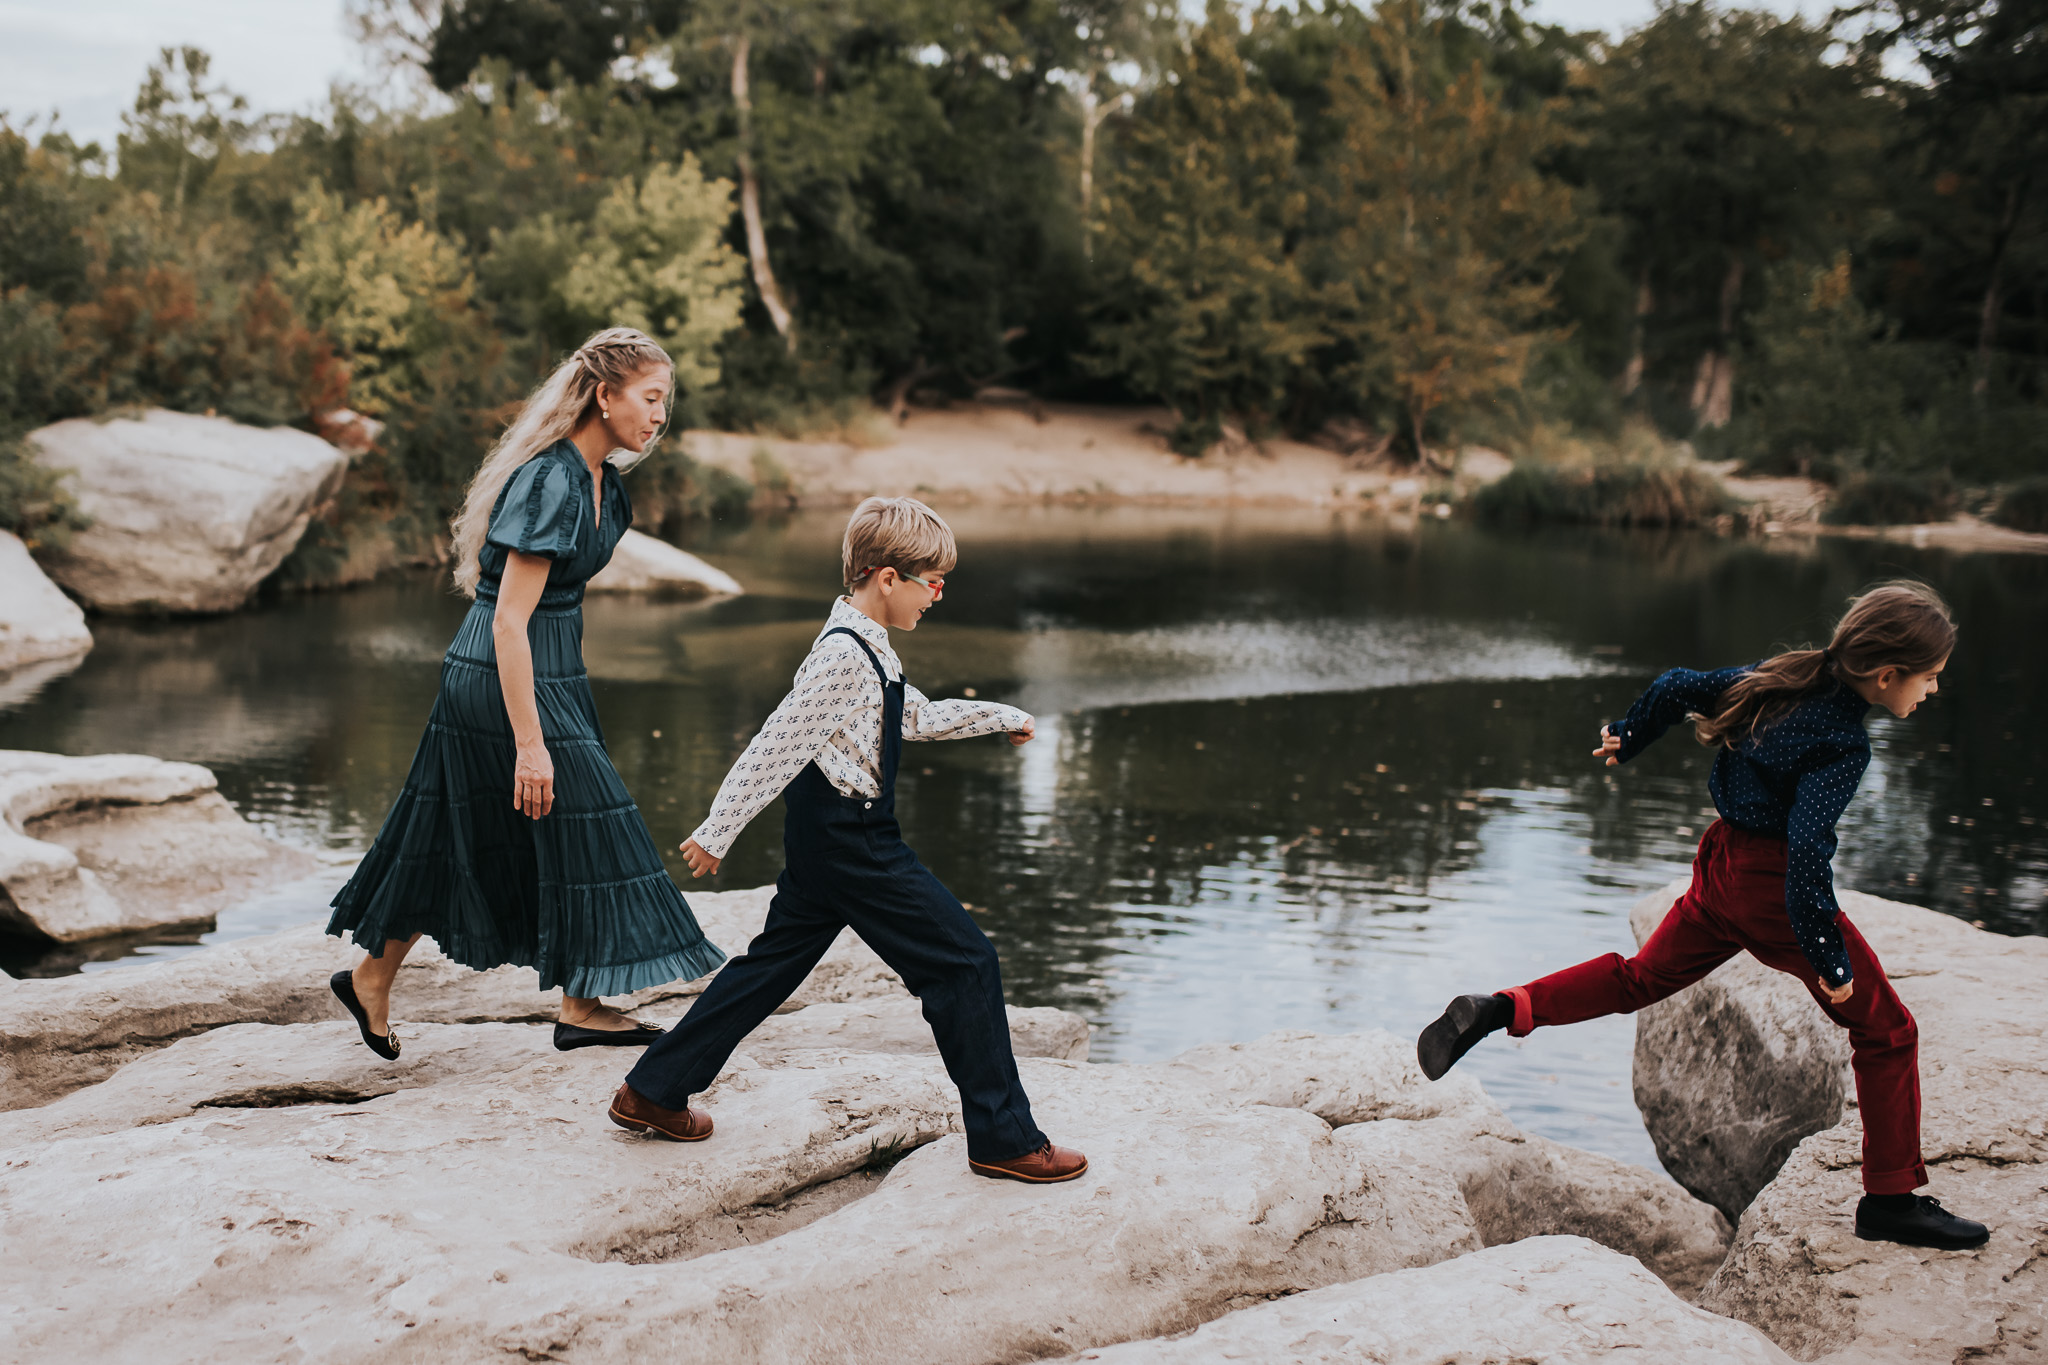
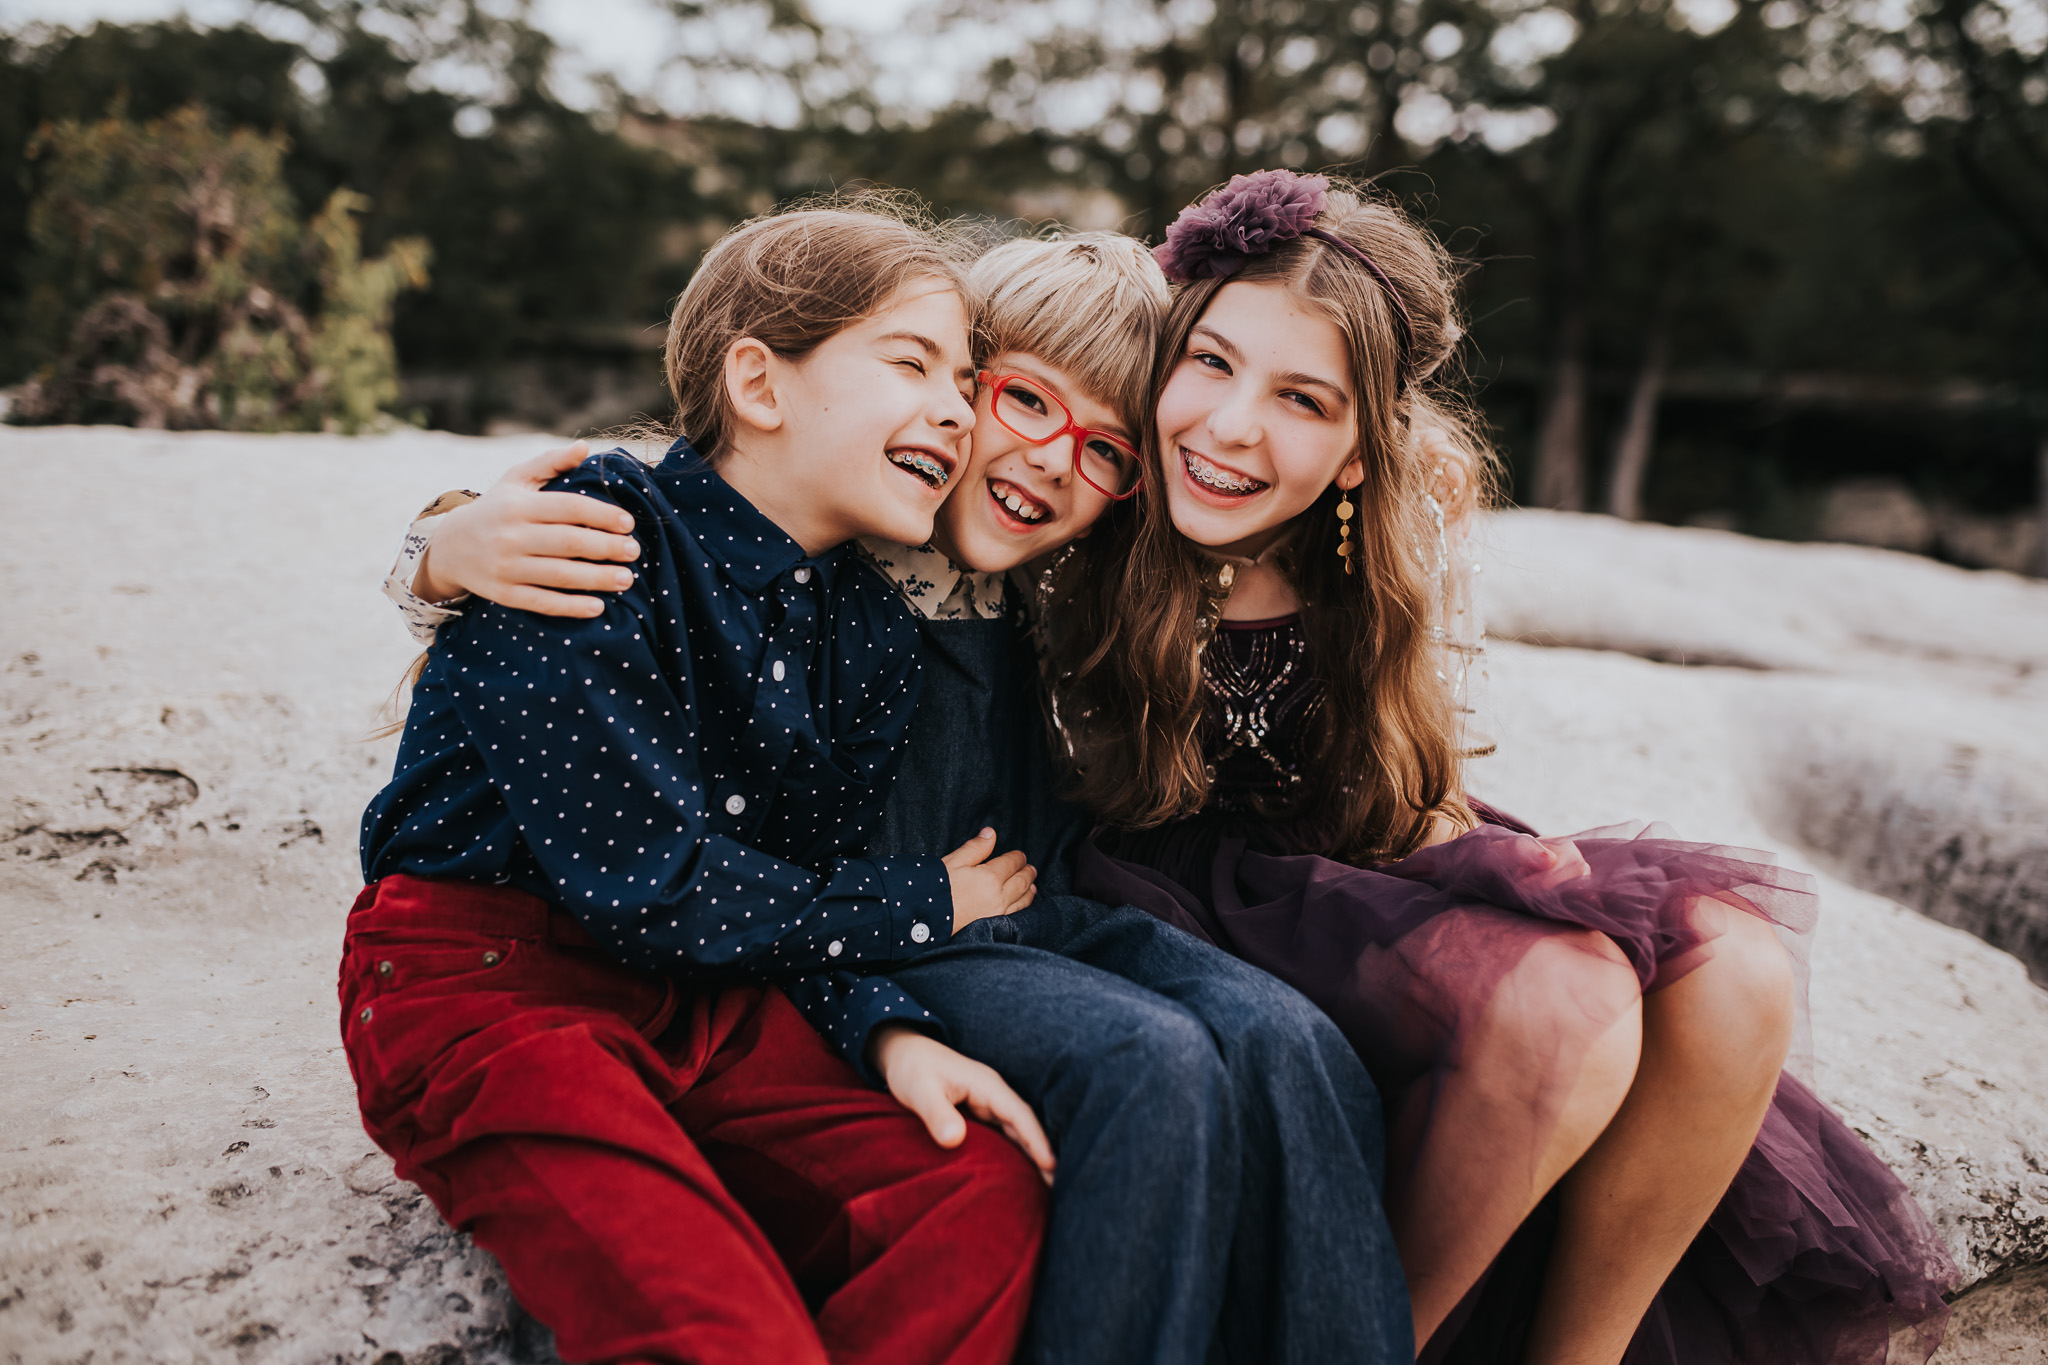
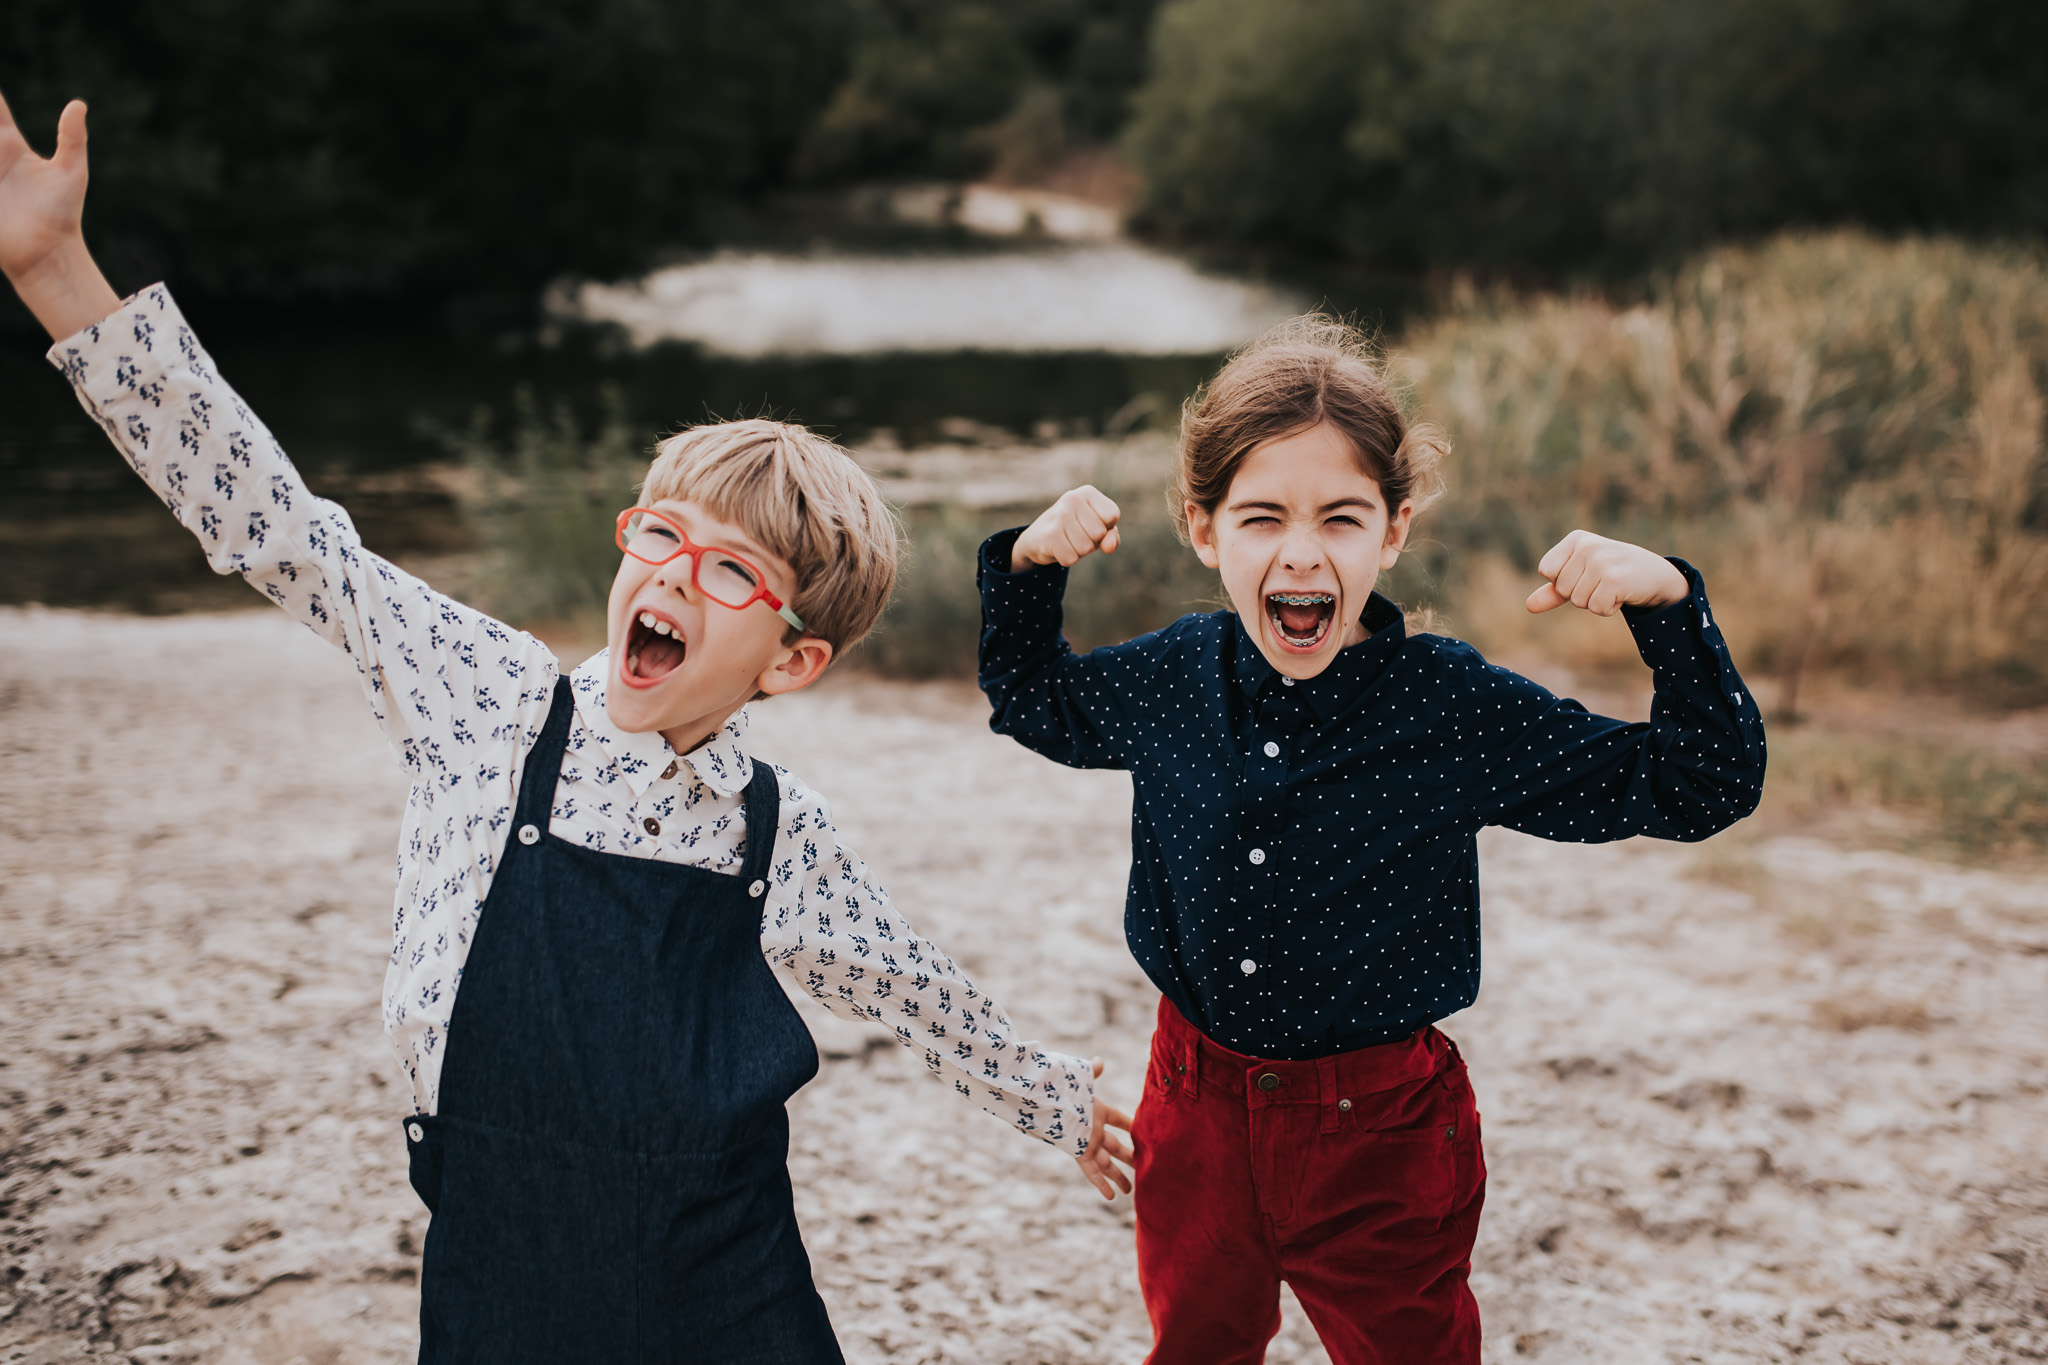
A Beginner’s Guide to Using a DSLR
So you’ve decided to invest in a quality camera + gear? That’s great! Taking gorgeous photographs must be important to you. That being said, everyone with a DSLR is not a photographer. There is much more to photography than using a fancy camera. The best way to capture beautiful photographs is to learn how to use your camera in the right way. Here’s a guide to get you started.
Learn the Capabilities and Settings of your Camera
You may be used to skipping the manual for things like your cell phone or smart TV, but you won’t want to do that with your DSLR. There are several settings, buttons and modes that you need to be aware of. This is one manual you’ll want to read cover-to-cover! Get yourself familiar with all the capabilities of your camera. Even if you’ve used a DSLR in the past, they are all a little different and the technology improves each year! Understanding your camera and getting comfortable with the settings will be the difference between you shooting regularly and it collecting dust on the shelf.
Shooting Modes – Auto vs. Manual
If you’re only in it for the auto mode, you’re better off using a point-and-shoot camera. There is a reason you’ve invested in a DSLR – to have more control over your photographs. That happens in manual mode. You can absolutely take good photographs in auto mode, but don’t you want awesome photographs?
I highly recommend starting off in Av (aperture priority) and Tv (shutter speed) modes and slowly graduating to the manual mode to make things easier. When using the Av or Tv modes, you only have to deal with setting values for the aperture, shutter speed and ISO. I know that sounds like a lot (and it is!), but trust me – this will make a difference in your photographs.
Understanding Exposure
A DSLR alone will not make a difference in your photographs – you need to understand the basics of photography. Lighting is the key element that makes or breaks a photo. Once you learn the fundamentals of exposure and lighting, you will start to see a big difference in your photos whether you are using a smartphone or a DSLR.
What a DSLR gives you is full control to play around with the values of aperture, shutter speed and ISO, which together will impact the exposure of the photo. Google: the exposure triangle. Dig deep into learning about these aspects and how they will effect your photographs.
Shooting in RAW vs. JPEG
The main difference between RAW and JPEG is file size. RAW files are significantly bigger than JPEG files.
When you shoot in JPEG format, the camera automatically processes the data to an image file, which leaves you with less control when editing the photograph. However, when you shoot in RAW format, all of the original details are preserved, giving you complete control over what you do with it. Simply put: working with RAW data will lead to better looking photographs.
Practice Frequently
As with most things, you will begin to take better pictures with practice and over time. Shoot in different modes and notice how the settings effect the photographs. Start with Av (aperture) mode. First shoot with a low aperture, and then kick it up to the highest aperture. Compare the two photographs. Look back at the aperture/shutter speed/ISO data on the photographs and see how adjusting the aperture changed the other exposure settings. It will take time to get comfortable with your DSLR. Try not to get frustrated. It’s a necessary learning curve. The most important thing to remember is this: have fun! You’re learning something new that you’re passionate about and you will absolutely get better each time you shoot. Before you know it, you’ll be capturing amazing shots!
The Best Gifts for an Aspiring Photographer
Haven’t worked with me before? Learn more!
For all the Austin vibes and latest lifestyle photo inspo, let’s connect on Instagram, Pinterest, YouTube and Facebook!